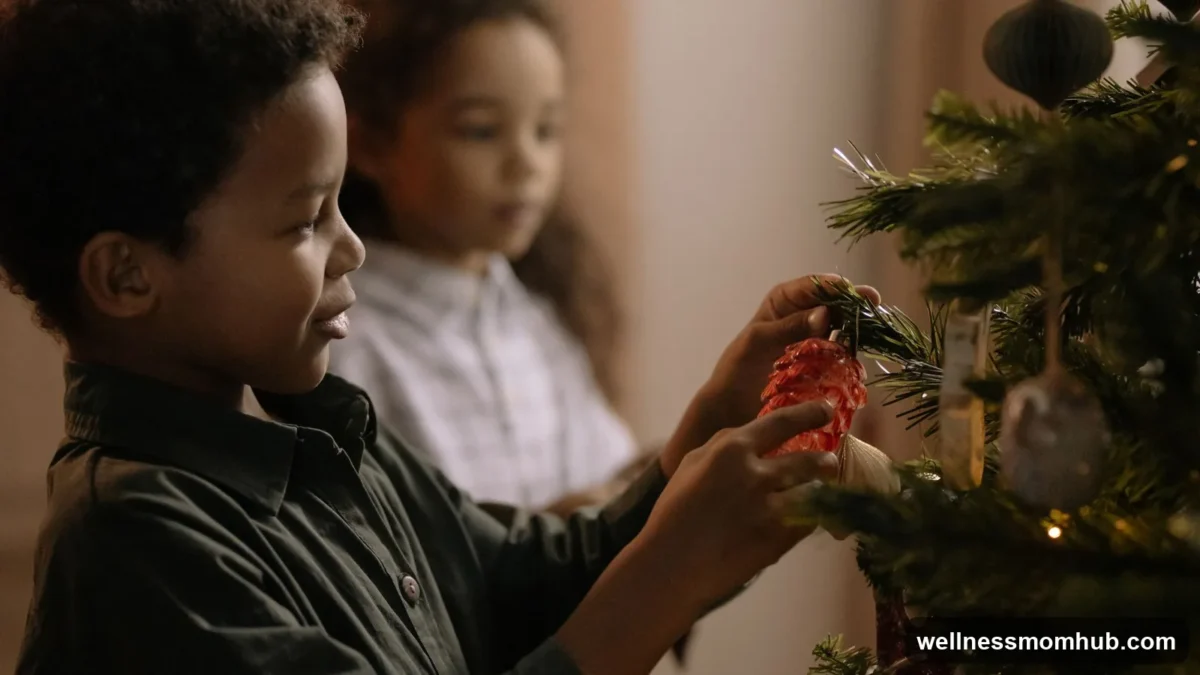
The easiest DIY Christmas ornaments for kids use kitchen and craft-drawer supplies: baking soda clay stars, cinnamon ornaments, popsicle stick snowflakes, paper strip balls and clear ornaments filled with paper confetti. Pick one dough, one paper craft and one quick fill-in, and a 3- to 8-year-old can make a whole set for the tree in a weekend.
Free printable Christmas Ornament Templates Printable
Quick picks by age: ages 3 and 4 do best with fill-in clear ornaments, painted wooden shapes and pipe cleaner candy canes. Ages 5 to 8 can handle popsicle stick snowflakes, twig stars and felt ornaments. Before you start, print our free ornament templates: three recipe cards, eight dough-size shapes, big felt shapes and keepsake tags.
 Save
20 DIY Christmas ornaments for kids at a glance
| Ornament | Best age | Hands-on time | Wait |
|---|---|---|---|
| Baking soda clay ornaments | 3+ | 30 min | 1–2 days drying |
| Cinnamon ornaments | 3+ | 20 min | 2–3 days or 2 hr bake |
| Salt dough ornaments (grown-up shapes, kids paint) | 3+ | 20 min | 2–3 hr bake |
| Air-dry clay thumbprint ornament | 3+ | 10 min | 1–2 days |
| Air-dry clay handprint keepsake | 2+ (with help) | 10 min | 2–3 days |
| Paper strip ball ornament | 5+ | 15 min | None |
| Accordion-fold paper fan | 4+ | 10 min | None |
| Cardboard tube snowflake | 6+ | 25 min | Glue dry |
| Cereal-box gingerbread people | 4+ | 20 min | Paint dry |
| Jar-lid photo ornament | 4+ | 10 min | None |
| Popsicle stick star | 4+ | 15 min | Glue dry |
| Popsicle stick snowflake | 5+ | 15 min | Glue dry |
| Popsicle stick sled | 6+ | 20 min | Glue dry |
| Twig star | 5+ | 20 min | None |
| Dried orange slice ornaments | 4+ (grown-up slices) | 15 min | 2–3 hr in oven |
| Cinnamon stick bundle | 4+ | 10 min | None |
| Pipe cleaner candy cane | 3+ | 10 min | None |
| Beaded pipe cleaner snowflake | 5+ | 15 min | None |
| No-sew felt ornaments | 5+ | 20 min | Glue dry |
| Clear ornament fill-ins | 3+ | 10 min | None |
Which ornament dough is best for kids?
Dough ornaments are the classic, and the dough you choose matters more than the cookie cutter. Salt dough is raw flour, and the FDA advises not letting children use raw dough for crafts, because raw flour can carry germs and kids put their hands in their mouths (FDA: handling flour safely). That does not mean skipping dough ornaments. It means picking the right dough for little hands.
| Dough | Raw flour? | Who handles it | Drying | Notes |
|---|---|---|---|---|
| Baking soda clay | No | Kids, after a grown-up cooks it | Air-dry 1–2 days | Smooth, bright white, paints well. Our top pick for kids. |
| Cinnamon dough | No | Kids | Air-dry 2–3 days or bake | Smells like the holidays. Not food. |
| Store-bought air-dry clay | No | Kids | 1–3 days | Easiest for handprints and thumbprints. |
| Salt dough | Yes | A grown-up mixes and shapes; kids paint after baking | Bake 2–3 hours | Hard and long-lasting. Keep away from dogs. |
Dough and clay ornaments
These take the longest, so start them first. While they dry, move on to the paper and popsicle stick ornaments below.
1. Baking soda clay ornaments
Mix 1 cup baking soda, ½ cup cornstarch and ¾ cup water in a saucepan. A grown-up stirs it over medium heat for 2 to 3 minutes until it thickens like mashed potatoes, then lets it cool under a damp towel. Kids knead it, roll it ¼ inch thick, cut stars and trees, and poke a ribbon hole with a straw. Air-dry 1 to 2 days, flipping once, then paint.
2. Cinnamon ornaments
Stir 1 cup ground cinnamon with ¾ cup applesauce and 2 tablespoons white glue until it forms a dough. Roll, cut and poke a hole, then air-dry 2 to 3 days (flip daily) or bake at 200°F for about 2 hours. The house smells wonderful, and kids love the brown “gingerbread” look. Remind little ones these are for smelling, not eating.
 Save
3. Salt dough ornaments, the safer way
Salt dough is still the most-searched homemade ornament for a reason: it bakes rock-hard and lasts. Here is how to make salt dough ornaments step by step with kids in the picture:
- A grown-up mixes 2 cups flour, 1 cup salt and ¾ to 1 cup water, kneads it for 5 minutes and rolls it ¼ inch thick.
- The grown-up cuts the shapes (our printable has eight) and pokes a ribbon hole.
- Bake at 250°F for 2 to 3 hours, until hard and dry all the way through. Thicker shapes take longer.
- Once cool, kids take over: paint, glitter glue, names and dates.
- Seal with a clear spray or brush-on sealer (a grown-up job, outdoors or by an open window).
Everyone washes their hands after touching raw dough. Hang the finished ornaments high: the Pet Poison Helpline warns that the salt in salt dough ornaments can poison dogs.
4. Air-dry clay thumbprint ornament
Roll a ball of white air-dry clay, flatten it into a 3-inch circle and let your child press thumbprints in a ring for a wreath, or in a row for “Christmas lights.” Paint the prints green or bright colors once dry.
5. Air-dry clay handprint keepsake
The handprint ornament everyone keeps, made with store-bought air-dry clay instead of raw dough. Roll a 5-inch circle, press your child’s hand in firmly, trim around it with a butter knife and add a hole at the top. Write the year on the back with a toothpick before it dries. Toddlers can join this one with your help; see our Christmas crafts for toddlers for more ideas sized for 1- to 3-year-olds.
Paper and cardboard ornaments
No drying, no oven, and most of the supplies are in your recycling bin. These are the homemade Christmas ornaments to make on the same afternoon you start the dough.
6. Paper strip ball ornament
Cut 8 strips of wrapping paper or cardstock, ½ inch by 8 inches. Stack them, push a brass fastener through both ends, and fan the strips out into a ball. A loop of ribbon through the top fastener and it is ready to hang.
7. Accordion-fold paper fan
Fold a rectangle of patterned paper back and forth in ½-inch pleats, pinch the middle, and glue the two halves together into a circle. Kids ages 4 and up love the folding, and it is good practice for small hands.
8. Cardboard tube snowflake
Flatten a paper towel tube and cut it into ½-inch rings (a grown-up job for the first cut). Glue 6 rings around a center point like flower petals, let it dry, then paint it white or silver.
9. Cereal-box gingerbread people
Trace the gingerbread shape from the printable onto the plain side of a cereal box, cut it out and paint it brown. Add “icing” with white puffy paint or a white paint pen. Two shapes glued back to back make it sturdier.
10. Jar-lid photo ornament
Trace a canning-jar lid on a school photo, cut it out and glue it inside the metal ring. Kids decorate the ring with washi tape or ribbon and write the year on the back. Grandparents will ask for one.
 Save
Popsicle stick ornaments
Craft sticks are cheap, sturdy and almost impossible to get wrong, which is why popsicle stick ornaments show up in every classroom in December.
11. Popsicle stick star
Glue 5 sticks into a star, overlapping the ends. Paint it yellow or gold and add a ribbon loop at one point.
12. Popsicle stick snowflake
Glue 3 sticks across each other in the middle so they make 6 arms. Kids decorate with paint, glitter glue or foam stickers. Ages 5 and up can add small beads; keep beads away from younger siblings.
13. Popsicle stick sled
Glue 5 sticks side by side, then glue 2 sticks across the bottom as runners. Paint it red and add a pipe cleaner “rope.” Older kids can write their name on the seat.
Nature and old-fashioned ornaments
Want old-fashioned Christmas ornaments? These three come straight from the pantry and the backyard, and they look lovely together on one tree.
14. Twig star
Collect 5 straight twigs about the same length. Tie them into a star with twine at each corner (a grown-up can help with the knots), then wrap the points with red yarn.
15. Dried orange slice ornaments
A grown-up slices oranges ¼ inch thick and dries them on a rack in the oven at 200°F for 2 to 3 hours, flipping halfway. Kids thread ribbon through the top and hang them in the window, where the light shines through.
16. Cinnamon stick bundle
Tie 3 cinnamon sticks together with red ribbon, add a sprig of greenery or a paper star, and hang. Two minutes, no mess, and it smells like the season.
 Save
Pipe cleaner, felt and fill-in ornaments
The quickest crafts in the list, good for a party, a classroom or the kids’ table at a family gathering.
17. Pipe cleaner candy cane
Twist a red and a white pipe cleaner together and bend the top into a hook. Ages 3 and 4 can do it alone. Five-year-olds can thread red and white pony beads onto one pipe cleaner instead.
18. Beaded pipe cleaner snowflake
Twist 3 pipe cleaners together at the middle to make 6 arms, then thread clear, white or blue beads onto each arm and bend the tips so the beads stay on.
19. No-sew felt ornaments
Trace the big star, round ornament, mitten or stocking from the printable onto felt and cut two of each. Glue them together around the edge with fabric glue, leaving a gap to stuff a little cotton in, then glue it closed. Decorate with felt scraps.
20. Clear ornament fill-ins
Buy shatterproof clear plastic ornaments (skip glass with kids) and let them fill them: paper confetti from a hole punch, curled ribbon, fake snow or tiny pom-poms. Snap the cap back on and they are done.
 Save
Make-ahead timeline
Dough needs drying time, so plan backward from the day you decorate the tree:
- 3 days before: make the cinnamon and baking soda clay ornaments so they can dry.
- 2 days before: air-dry clay handprints and thumbprints; bake any salt dough.
- The day before: paint the dried dough, dry the orange slices, glue the popsicle stick ornaments.
- Tree day: paper strip balls, clear ornament fill-ins, pipe cleaner candy canes and cinnamon bundles, all made on the spot.
How to make homemade ornaments last
- Dry completely. Any moisture left inside dough or clay is what makes ornaments crack, puff or mold later.
- Seal painted dough. A clear sealer on both sides keeps out humidity. Do it outdoors or by an open window.
- Store dry and flat. Wrap each one in tissue paper and keep them in a box somewhere that does not get damp, not the basement.
- Label the back. Name and year in permanent marker, or glue on a keepsake tag from the printable.
Bake or air-dry? Salt dough is better baked: it is faster and dries all the way through. Baking soda clay, cinnamon dough and air-dry clay are made for air-drying.
Safety notes
- Raw flour: kids should not handle raw salt dough. Use baking soda clay, cinnamon dough or air-dry clay, and let kids paint salt dough only after it is baked.
- Pets: salt dough can poison dogs. Hang salt dough ornaments high and keep scraps out of reach.
- Small parts: beads, pom-poms and buttons are choking hazards for children under 3. Keep them for older kids and away from little siblings.
- Grown-up jobs: the stove, the oven, sharp knives, the first cut on cardboard tubes and spray sealer.
- Not food: cinnamon ornaments smell like cookies. Tell kids before they try a bite.
Free ornament templates and recipe cards
The free ornament templates are a 4-page PDF:
- Page 1: recipe cards for baking soda clay, cinnamon ornaments and salt dough, with the safety notes.
- Page 2: eight dough-size shapes to trace: star, tree, round ornament, heart, gingerbread, bell, mitten and stocking.
- Page 3: four big shapes for felt, paper or cardboard ornaments, with ribbon-hole marks.
- Page 4: eight “Made by” keepsake tags with spaces for age and year.
 Save
Print on US Letter paper or cardstock. Free for personal and classroom use, no email required.
More for December: Christmas activities for toddlers, free Christmas coloring pages, our activity advent calendar, and fine motor activities for the little ones who want to help.
DIY Christmas ornaments FAQ
What are easy DIY Christmas ornaments for kids?
Clear ornament fill-ins, pipe cleaner candy canes, paper strip balls and popsicle stick stars. None needs drying time or an oven, and kids as young as 3 or 4 can do most of the work.
How long do salt dough ornaments last?
Many families keep them for years. The keys are baking them until they are completely dry, sealing both sides once painted, and storing them wrapped in a dry place.
Is it better to bake or air-dry salt dough?
Bake it. Baking at 250°F for 2 to 3 hours dries salt dough all the way through and makes it harder. Air-drying takes several days and thick shapes can stay soft inside.
Is salt dough safe for kids?
Raw salt dough is made with raw flour, and the FDA advises not letting children use raw dough for crafts. Let a grown-up mix and shape it, then let kids paint the baked shapes. For hands-on dough, use baking soda clay or cinnamon dough.
What are cheap DIY Christmas ornaments?
Cardboard tube snowflakes, cereal-box gingerbread people, paper strip balls, twig stars and baking soda clay ornaments cost almost nothing, since they use recycling and pantry staples.
How do you make old-fashioned Christmas ornaments?
Try dried orange slices, cinnamon sticks tied with ribbon, cinnamon dough shapes and twig stars. They use natural materials, look vintage on the tree, and smell like the holidays.
Done with ornaments? See our Christmas crafts for kids: paper snowflakes, reindeer headbands, handmade gifts and free templates.