This puffy paint recipe takes two ingredients, five minutes and no stove: equal parts white school glue and foam shaving cream, plus a drop of food coloring. It dries into soft, raised pictures kids can touch. Below is the step-by-step recipe, how to get it extra puffy, the age and safety notes most recipes skip, six things to make with it, and free picture templates to fill.
Quick answer: to make puffy paint, mix 1/2 cup white school glue with 1/2 cup foam shaving cream (not gel), fold gently with a spoon, then stir in a few drops of food coloring. Paint it on thick cardstock with a brush or squeeze it from a bag. Let it dry flat: a few hours for thin swirls, overnight for thick ones.
Free printable Puffy Paint Recipe Card and Templates
Puffy paint recipe at a glance
| Recipe | Ingredients | Best for | Notes |
|---|---|---|---|
| Shaving cream puffy paint (this recipe) | Glue + foam shaving cream + coloring | Ages 3 and up | No flour, no heat, dries puffy |
| Microwave puffy paint | Flour + salt + water + coloring, microwaved after painting | Grown-ups only to handle the raw mix | Uses raw flour, see the safety section |
| Store-bought puffy paint | Fabric dimensional paint in tubes | T-shirts and fabric, big kids | Homemade puffy paint won’t hold up on fabric |
| Yogurt “puffy” paint | Plain yogurt + food coloring | Toddlers who still mouth everything | Taste-safe, doesn’t dry puffy, messy fun |
How to make puffy paint with shaving cream
This is the classic DIY puffy paint, and it works because the glue holds the shaving cream’s air bubbles in place as it dries.
What you need
- 1/2 cup white school glue (washable PVA glue)
- 1/2 cup foam shaving cream, the white aerosol kind. Gel won’t puff.
- Food coloring or liquid watercolor
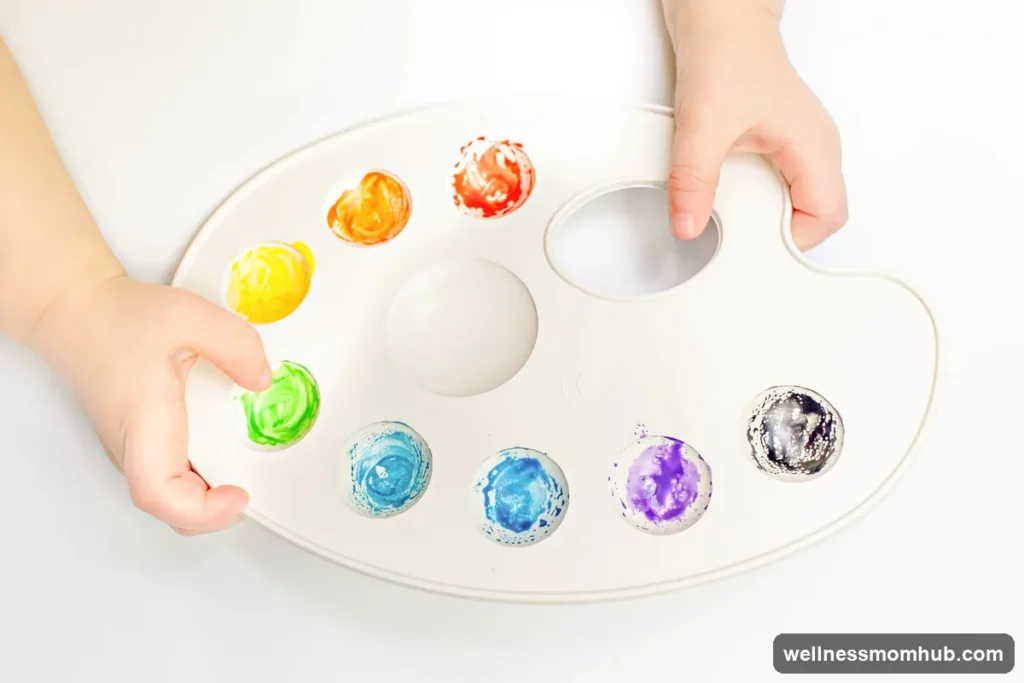
- Small cups or a muffin tin for colors
- Thick paper: cardstock, a cereal box or a paper plate. Thin paper buckles.
- Brushes, cotton swabs, craft sticks or zip-top bags
Step by step
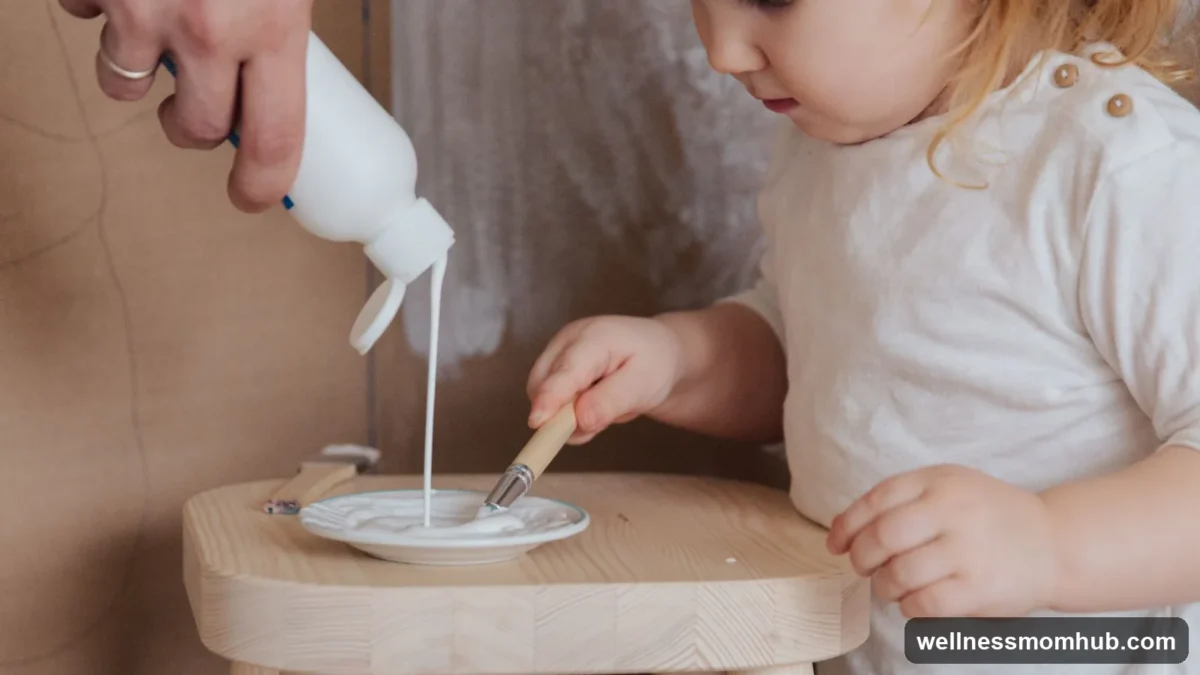
- Squeeze the glue into a mixing bowl.
- Add the same amount of shaving cream. A grown-up handles the can.
- Fold, don’t whisk. Gently fold the two together with a spoon until smooth. Whisking hard knocks the air out and the paint dries flat.
- Add color. Spoon the mixture into cups and stir one or two drops of coloring into each. A little goes a long way.
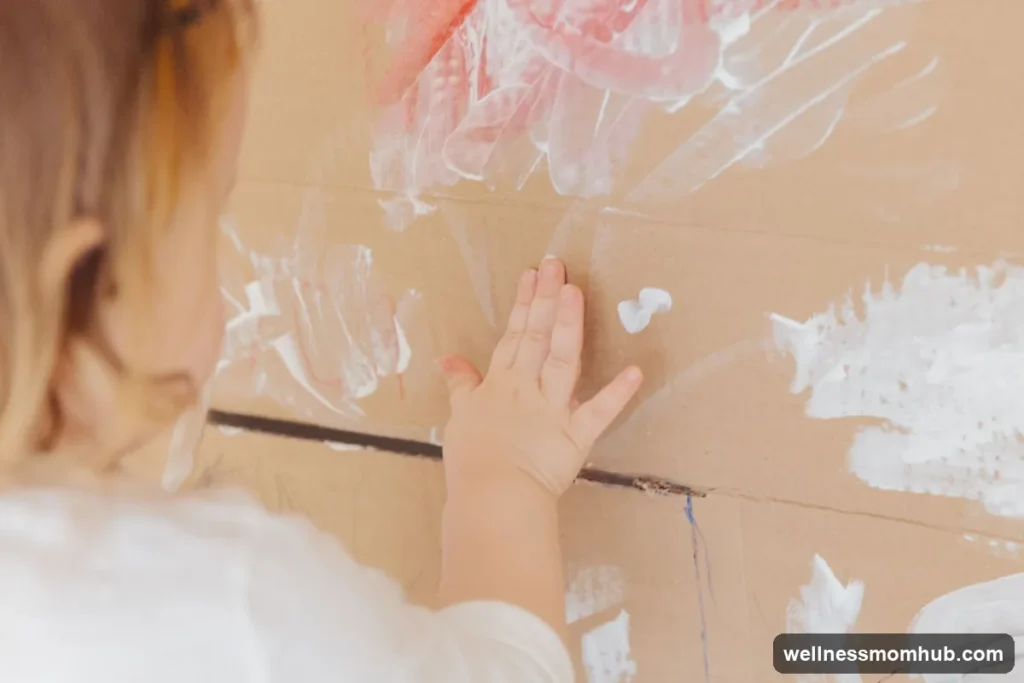
- Paint thick. Dab it on in blobs and swirls instead of brushing it flat. Thick paint stays puffy.
- Dry flat. Leave it somewhere it won’t get bumped. Thin swirls dry in a few hours, while thick blobs need overnight or longer.
Tips for extra puffy paint
- Use more shaving cream for puffier, lighter paint. It also gets more fragile, so stay near 1 to 1 for paint that lasts.
- Pipe it. Fill a zip-top bag, snip off a small corner and squeeze. Piped lines stay tall.
- Make it fresh. The foam slowly deflates in the bowl, so mix small batches right before painting.
- Add texture at the end. For big kids, sprinkle a pinch of glitter or sand on wet paint.
Is puffy paint safe for toddlers?
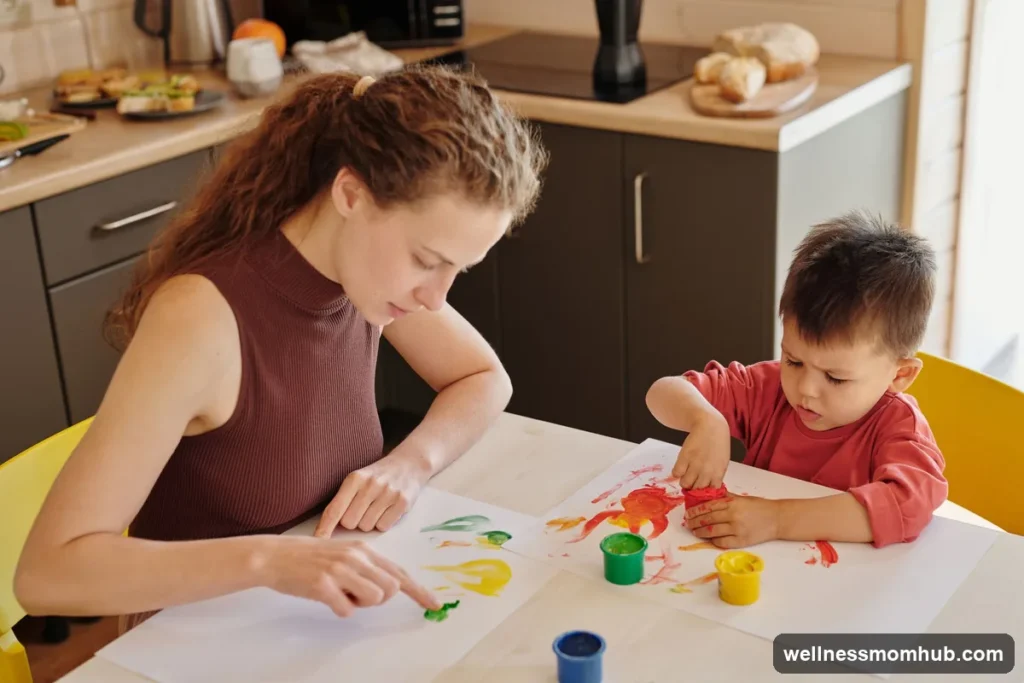
Puffy paint is a craft supply, not a toddler-safe sensory material. It works best from about age 3, once kids reliably keep paint out of their mouths. For younger toddlers who taste everything, wait a while or use the yogurt paint in the table above.
- Shaving cream isn’t food. MedlinePlus says shaving cream is not very poisonous, but it can upset the stomach if swallowed and burn the eyes. Paint at the table, not on hands and faces, and wash hands after.
- If any is swallowed, call Poison Help at 1-800-222-1222. It’s free, open 24 hours, and you don’t need to wait for it to be an emergency.
- Skip raw flour recipes for little hands. Many “microwave puffy paint” recipes mix flour, salt and water, and kids paint with the raw mix before it’s heated. The FDA says not to let children use raw dough for crafts or play clay, because raw flour can carry bacteria like E. coli. The glue and shaving cream recipe needs no flour at all.
- Grown-up holds the can. Aerosol cans and toddlers are a bad mix, and a spray to the face goes straight to the eyes.
6 things to make with puffy paint
Puffy paint shines on anything that’s supposed to look soft, fluffy or frosted.
1. Rainbow and clouds
Puff each stripe of a rainbow a different color, then add fat white clouds at the ends. The rainbow template in the printable is sized for little hands.
2. Snowman and snow scenes
Leave the paint white for “snow paint.” Fill in a snowman, then add a colored hat and scarf. A great craft for a winter afternoon, alongside our winter activities for kids.
3. Ice cream cones
Pink, brown and mint scoops on a paper cone look good enough to eat. Remind little ones that they’re not.
4. Fluffy sheep
Dab white puffy paint over a sheep’s body for wool that kids can touch once it’s dry.
5. Cupcakes
Pipe a frosting swirl from a bag and add sprinkles of colored puffy paint dots. Piping is great fine motor practice for 4- and 5-year-olds.
6. Raised-texture pictures
Draw letters or shapes with puffy paint. Once dry, kids can trace them with their fingers, which makes a fun touch-and-feel card. Our fine motor activities for toddlers have more ideas for little hands.
Free puffy paint recipe card and templates
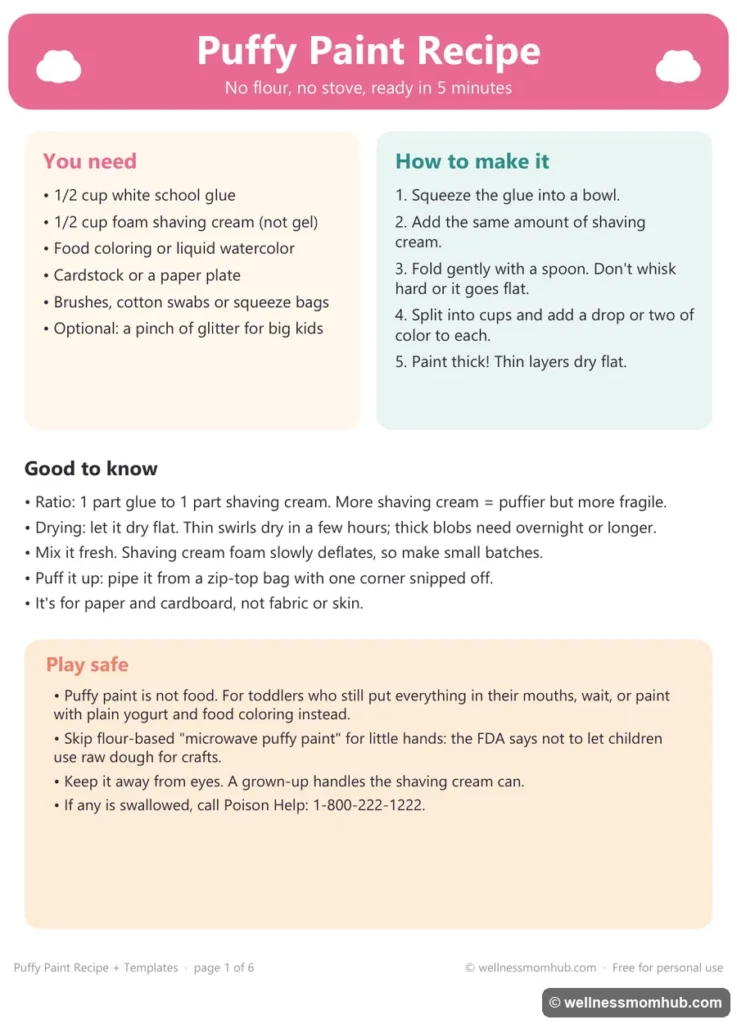
The free puffy paint recipe card and templates are a 6-page PDF:
- Page 1: the recipe card with ingredients, steps, drying tips and play-safe notes, to tape inside a cupboard.
- Pages 2 to 6: five big-shape templates to fill with puffy paint: rainbow, snowman, ice cream cone, fluffy sheep and cupcake.
Print the templates on cardstock so they don’t buckle under wet paint.
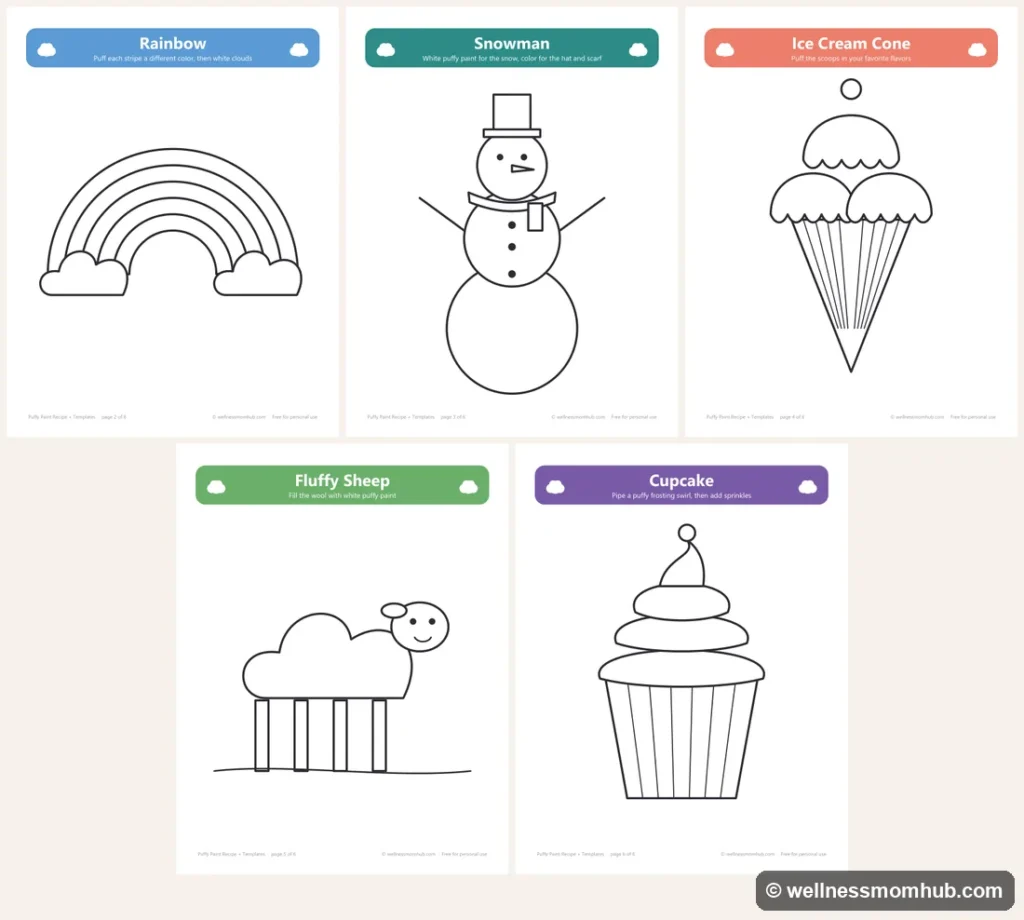
free puffy paint recipe card and templates
Looking for more painting projects? See our painting ideas for kids, the easy toddler crafts list and the sensory bin ideas for more hands-in play.
Puffy paint FAQ
How do you make puffy paint without flour?
Mix equal parts white school glue and foam shaving cream, then add food coloring. This recipe has no flour, needs no microwave and dries puffy on its own.
How long does puffy paint take to dry?
Thin swirls usually dry in a few hours, while thick blobs can take overnight or longer. Dry it flat somewhere it won’t be bumped, and use thick paper so it doesn’t curl.
Can you use shaving gel for puffy paint?
No. Use white foam shaving cream from an aerosol can. Gel doesn’t hold air the same way, so the paint won’t puff.
What age is puffy paint for?
About 3 and up, once kids keep paint out of their mouths. For younger toddlers, paint with plain yogurt and a drop of food coloring instead.
Can you use homemade puffy paint on fabric?
Homemade glue and shaving cream paint is best on paper, cardboard and paper plates. For T-shirts, use store-bought fabric puffy paint made for washing.
How do you store leftover puffy paint?
It’s best fresh, since the foam slowly loses its air. Leftovers keep for a short time in a lidded container, but expect them to be flatter, so mix small batches instead.